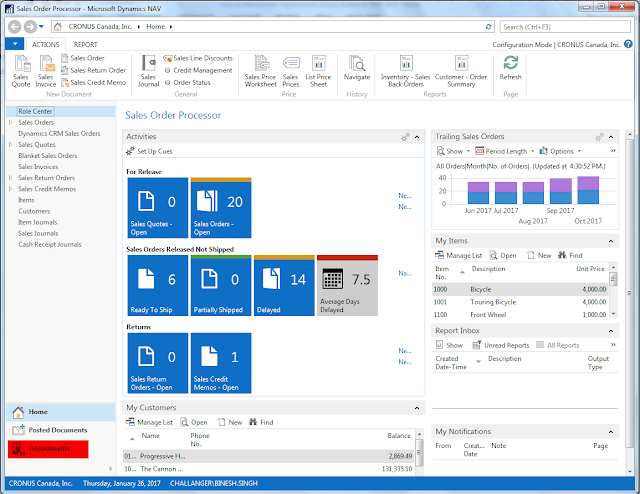
Microsoft Dynamics NAV 2016
Hi! All,
Today I Posted Shortcut Keys of MS Dynamics NAV 2016.
The following table
provides an overview of shortcut key combinations in the Microsoft Dynamics NAV
Windows client.
Microsoft Dynamics NAV Windows client
|
Action
|
Right Arrow
|
Move to the next
field or character
|
Left Arrow
|
Move to the previous
field or character
|
Up Arrow
|
Move to the field
above in the same column
|
Down Arrow
|
Move to the field
below in the same column
|
Delete
|
Clear selected text
|
Esc
|
Close the window or
undo the data entry
|
End
|
Move to the last
field on a line
|
Home
|
Move to the first
field on a line
|
Tab
|
Move to the next
field on non-line FastTabs
|
Enter
|
Move to the next
editable field
|
F1
|
Open Help
|
F2
|
Edit
|
F3
|
Select Type to
filter (field filter)
|
F4
|
Drop-down or look up
to select
|
F5
|
Refresh the active
window
|
F6
|
Go to the next frame
|
F7
|
Display statistics
|
F8
|
Copy the field above
|
F9
|
Post
|
F10, Alt
|
Select the menu bar
and display access keys
|
F12
|
Select the
navigation pane
|
Shift+F1
|
View error message
|
Shift+F3
|
Select Show
Results (FlowFilter)
|
Shift+F4
|
Open a lookup window
(from an ellipsis button)
|
Shift+F6
|
Go to the previous
frame
|
Shift+F7
|
Open the related
card
|
Shift+F8
|
Drop-down or look up
to view
|
Shift+F9
|
Post and print
|
Shift+F10
|
Display a shortcut
menu
|
Shift+F11
|
Apply entries, get
source documents, or get warehouse documents
|
Shift+F12
|
Open the Role Center
from the navigation pane
|
Shift+Tab
|
Move to the previous
field
|
Shift+left-click
|
On multiple column
headers, the columns will all be sorted in the same ascending or descending
direction.
|
Shift+double-click
|
If sorting on
multiple column headers using Shift+left-click, use Shift+double-click on the
first column that was clicked on and this will toggle ascending/descending
direction of all the columns included in the sorting.
|
Left-click
|
Left-click on a
column header to sort a column ascending, then left-click again to toggle
between ascending and descending.
|
Ctrl+F1
|
Collapse or expand
the ribbon
|
Ctrl+F2
|
Create a new
document
|
Ctrl+F3
|
Select Search pages
|
Ctrl+F4
|
Look up to the
related list
|
Ctrl+F7
|
View entries
|
Ctrl+F9
|
Release document
|
Ctrl+F10
|
Select the ribbon
and display key tips
|
Ctrl+F11
|
Reconcile or split
lines
|
Ctrl+F12
|
Select the address
bar
|
Ctrl+C
|
Copy
|
Ctrl+G
|
Go to
|
Ctrl+E
|
Export to Microsoft
Office Excel
|
Ctrl+L
|
Show links
|
Ctrl+N
|
Create a new record
|
Ctrl+O
|
Open the company
|
Ctrl+P
|
Print
|
Ctrl+T
|
Select sorting
|
Ctrl+V
|
Paste
|
Ctrl+W
|
Export to Microsoft
Office Word
|
Ctrl+X
|
Cut
|
Ctrl+Z
|
Undo
|
Ctrl+Page Down
|
Display next
document or card in a list
|
Ctrl+Page Up
|
Display previous
document or card in a list
|
Ctrl+Up Arrow
|
Move up while the
selected line stays selected
|
Ctrl+Down Arrow
|
Move down while the
selected line stays selected
|
Ctrl+Left Arrow
|
Move to the first
field on a line
|
Ctrl+Right Arrow
|
Move to the last
field on a line
|
Ctrl+Alt+F1
|
Open the About
this Page/Report window (Zoom)
|
Ctrl+Delete
|
Delete the selected
line
|
Ctrl+Home
|
Move to the first
line in a list
|
Ctrl+End
|
Move to the last
line in a list
|
Ctrl+Enter
|
Save and close
window (equivalent to choosing the OK button)
|
Ctrl+Insert
|
Insert new line
|
Ctrl+Shift+F3
|
Select Limit
totals to (table filter)
|
Ctrl+Shift+A
|
Clear all filters
|
Ctrl+Shift+C
|
Copy Rows
|
Ctrl+Shift+D
|
Show dimensions
|
Ctrl+Shift+E
|
Edit list
|
Ctrl+Shift+R
|
View list
|
Ctrl+Shift+Q
|
Collapse/expand a
line in a hierarchy
|
Ctrl+Shift+V
|
Paste rows
|
Ctrl+Shift+W
|
Open a list place in
a separate window
|
Ctrl+Shift+Enter
|
Save and close the
window and open a new window
|
Alt
|
Display access keys
in the ribbon
|
Alt+F2
|
Toggle to
display/hide FactBoxes
|
Alt+F3
|
Filter to the value
in the field
|
Alt+F4
|
Close window or
close program
|
Alt+F6
|
Collapse or expand
the active frame
|
Alt+F12
|
Optimize space for
the current page
|
Alt+Left Arrow
|
Go to the previous
window in the navigation history
|
Alt+Right Arrow
|
Go to the next
window in the navigation history
|
Alt+Enter
|
Move to the field
below without opening the drop-down menu
|
Alt+Tab
|
Toggle between open
windows
|
References : Msdn Site
____________________
Thanks & Best Wishes
Binesh Singh Rajput
(MCP, MS, MCTS)
____________________
Thanks & Best Wishes
Binesh Singh Rajput
(MCP, MS, MCTS)


